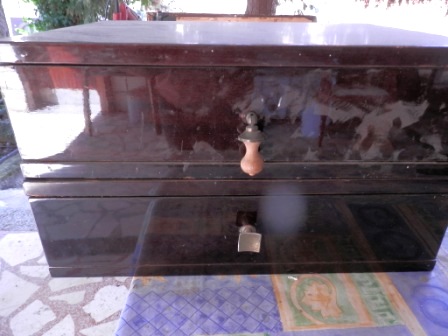
Once upon a time they were ugly twins and then decided to take facelifting and continue to live separately. I got these two pieces our acquaintances decided to get rid of and recognized the opportunity at once. it was just the small table I needed for my printer and another one for my son's room.
Tutorial how to makeover side tables
This is how tables looked like 'before'.
And this is their look after makeover.
How to do makeover
Material and tools:
- usual suspects (sander and sanding paper, filler, primer, acrylic paint, roller and brushes, transparent varnish for the protection) plus some additional things for decorations (decoupage and rice papers, thin brushes and acrylic paints)
As usual, sanding is the first step. I am using orbital sander, it is great help. Started sanding with sanding paper grade 40 and continued with paper grade 80.
Tables were in rather good shape and just minimal corrections were necessary to be applied (using filler). After that, I applied one coat of primer.
 |
| Drawer 'before' |
Drawers inside are usually hidden, but I like to refresh hidden parts as well, so I applied primer and paint for the complete drawer.
After primer, applied three thin coats of white acrylic paint using roller. This was the process same for the both tables. After that, additional decoration was, of course, different.
For the 'printer' table, I used rice paper for the legs. First, made pattern to be used for legs, then cut the pieces from rice paper and glued them using decoupage glue. For the drawer, I used tape and stencil and decorative acrylic paint.
This is my 'office' corner with the printer table.
To decorate drawer I used tape to protect tne white part and colored the stripes using colors - blue, red and green as used for the legs.
For the surface, I used decoupage paper and glue.
When finished, I put two coats of transparent varnish (satin) for the protection.


No comments:
Post a Comment