Showing posts with label Bags and totes. Show all posts

Jul 18, 2014

Cheerful Summer Bag


Finally finished this cheerful summmer bag. Birds you can see are brooches so I will be able to wear them in the winter, too, to make my day. Tut for brooches find in this post.

Just to give you a short input how I made it: 


Original fabric is upholstery fabric I bought in Ikea. 


Decided to painted it - used acrylic paints for fabric I already had.


I like to have pockets in the bag, so I made a lining with zipper pocket on one side and plain pockets on the other.


After the bag was finished, just put my birds on it.


Read more "Cheerful Summer Bag "

Jun 22, 2014

DIY Hermes paper bags to download


Hemes bags - dreams, dreams. But, if you can't buy the leather bag, you can make paper one. Hermes offered the pattern of their famous Kelly bag. They removed the pattern from their site, but download it here.


Fortunatelly, the Jige clasp is still available on their site - here is the link to pdf file.


Just in case Hermes update their site and  remove patterns, here is the file (pdf).
Have fun!
Read more "DIY Hermes paper bags to download"

Apr 12, 2014

Vintage leather bag with photos


How to get affordable, vintage leather bag (and not to spend a fortune)? With this question on my mind I started to think how I could make one. And this is the result. I bought a piece of soft dark grey leather at a great price and decided to make vera simple, messanger bag but with the addition of 'quilting' like fabric on the cover - that was the most demanding part to do. Inside the bag I sew cotton fabric lining with pocketc on the both sides, front and back.


Short tutorial how I made the vintage leather bag


leather bag bottom


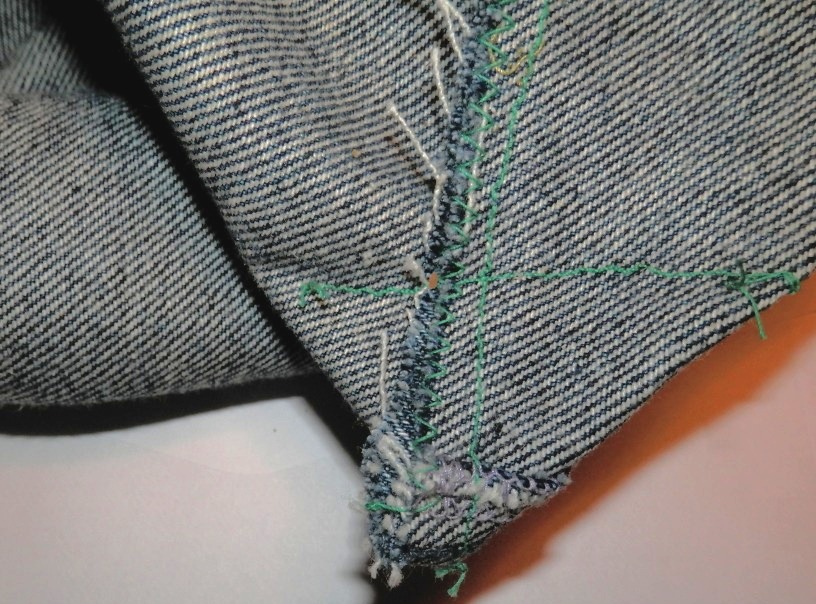
It was easy to sew the 'body' of the bag. The with of the bottom I achieved sewing 'triangles' - as for the jeans bag.


vintage quilting photo


I spent more time to make the fabric cover. First I planned and draw the lines and shapes on the fabric, just to have the general idea (this was changed during the work). As the photo of my family, including our pats of course, was the central point, I started with it and, piece by piece, added fabric, decoupage and stitches, and some buttons at the end.


This is the finished fabric part.


Now it was time to sew it on the leather cover. I used cloth pins to fasten two pieces together.


To sew the second piece of leather, used office clips as well to fasten them.


The final tas was to sew the cover to the body of the bag - not very easy, as I have just a plain sewing machine, but the usage of special needle for the leather was a great help.
Read more "Vintage leather bag with photos"

Dec 16, 2013

Patchwork bag


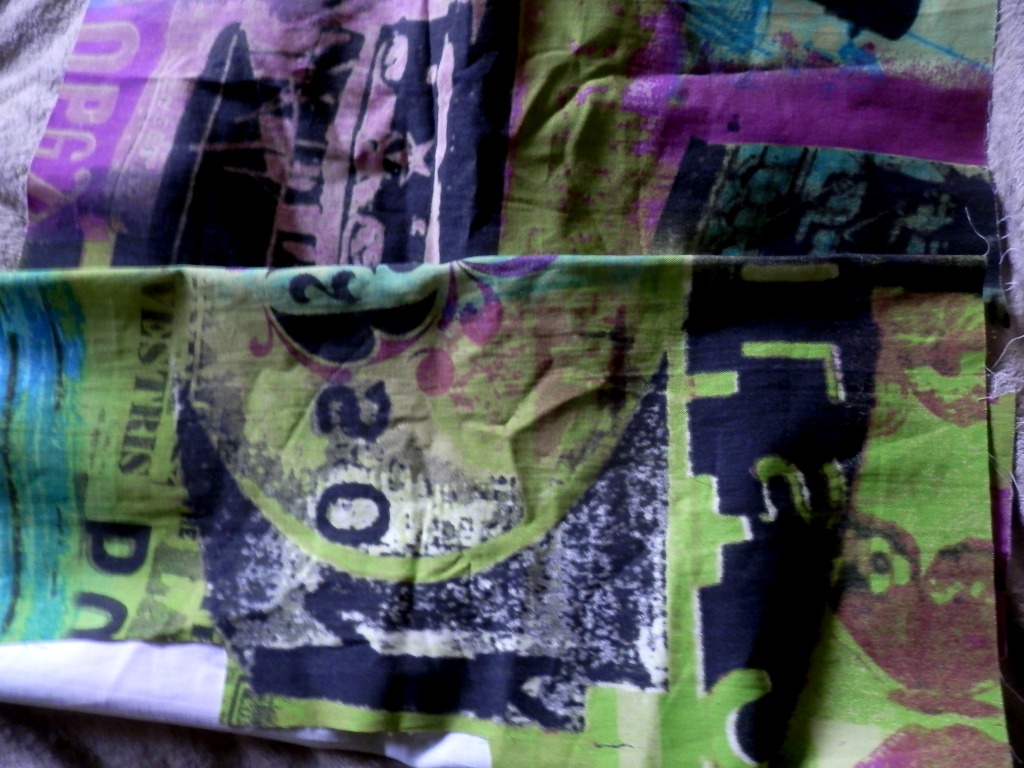
Never enough bags and purses. Designers' ones are too expensive for me, so occasionally I make them myself. This one is made by the pattern of Marcy Tilton I bought on Vogue patterns (this is not any advertising post). Used fabric scraps I found at home to play a little (it was realy fun) and add vibrancy to the bag.


Some more photos of the bag:


And this is the original:


Tips I learned making the patchwork bag

I used different fabric for the bag and, although I followed the instructions, the bottom didn't stay flat when caring the bag - had to put plastic (cut of the old plastic file)  under the lining to 'fasten' it.


Vogue patterns are different compared to Burda patterns, so read the instructions. main difference is that Burda patterns are drawn with the sewing lines while on the Vogue pattern you have 'cutting' line (with the seam allowance already included) and the sewing line. I have to say, Burda pattern is more suitable for me.

Read more "Patchwork bag"

Nov 10, 2013

Trolley shopping bag - something old, something new


My weekly ritual is visit to the green market where local farmers sell their product. I am going there for years and built a relationship with some of them. I know where to buy fresh cheese, who has the best carrot or potato, who's products are organic. And always buy over 1o kilograms, it's too heavy for me to carry bags. Trolley shopping bag is marvelous invention, I've been using it  more than 20 years. On the old one bag became worn out, metal construction was still good. And I decided to sew something original, and the bag that will match my requirements. This is the result, I am very pleased with the result (and that is not the case with all my projects). Here is the tutorial how I made it.

Trolley shopping bag DIY tutorial

Material:


- old jeans (I bought two pairs in second hand shop for 3,5 $)
 - leftover fabric
- eco leather (decided to buy it later on)


From back part of the jeans legs made front of the trolley.
Another trousers used for the back side.


This stripped fabric I used for the sides. The upper edge I strengthened with the nonwoven and two layers of the fabric.


I need big inner pocket of the shopping bag (this I couldn't find in any bag I could buy). So, I used jeans as well for the base and sewed original pocket to be used as one pocket and stripped fabric for another one. 


Stripped fabric fastened on the base together with the zipper (see photo).


For the lower end of the pocket I made a pleat, to be able to put in more things.


For the bottom of the bag decided to use eco leather. First pinned it, then hand stitched and finally sewed (twice, to be firm).


The original bag was made of synthetic material. Jeans is rather soft and heavy and the back side was not standing upright. Wire frame from the old bag I used to fasten the  front side. For the back side had several options and decided to make insert from the fabric and sponge and input the cardboard. 


Finally, used   eco leather to make the cap. Added some details in the meantime.

My trolley shopping bag :


Read more "Trolley shopping bag - something old, something new"

Apr 17, 2013

Furoshiki - multipurpose cloth


Saturday mornings I am  usually spending in the city center visiting  shops  and going to the green market. This is time just for myself.
Bookstores are at my focus, I love reviewing new books, particularly crafts and art related. So, one Saturday I came across the book about furoshiki. First second: What's this? Next (and all others) second: I looooove it! And I still do. It is so simple yet so multipurpose, not to mention that I love scarfs.

What is Furoshiki?

Furoshiki (originated from japan) is wrapping cloth used for carry things or wrap gifts. It is easy to wrap anything of all shapes and sizes, make purse or use it as a  scarf. And if you don't need it at the moment, just fold it and put it  in pocket. As we are approaching the Earth day (April, 22nd) it is good to notice that furoshiki is enviromental and excellent way to avoid plastic bags.

So see some photos and visit original site where you can find a lot of tutorials how to wrap the cloth.


Photo comes from this site


Read more "Furoshiki - multipurpose cloth"

Apr 10, 2013

From jeans skirt to the bag tutorial


Finally I found some time to finish the tutorial for this bag. I really love it, which is not always the case with my projects. 


Jeans skirt I came across during wardrobe clean-up was perfect for this  project. First, I made some decisions about basic bag design and size - decided to use the overall upper part of the skirt as it is - with pockets and zip,  determined the lenght of the bag, taking into account the bottom width and chose not to sew the lining. This was the easy part. 


Afterwards was the time to think about patches patterns and decorations. My cats helped - they are always around, together with the dog (when I am doing something) 'assisting' - steeling cloth or lying on the fabric. 


Two cats -   and the main theme was chosen. Found cat figure on the internet, print it, cut it and draw it on the fabric. 


Fantom (vanishing) pen I found very usefull in a number of my projects - on the photo above the smaller one. I used it on this project as well. The beauty of this pen is that you can use it as any other pen, but the ink vanishes after few hours or if you apply acrylic paint or water.


Sometime ago, spotted this colorfull fabric in the shop and bought it - it gives me various opportunities in my projects as  different parts/colors could be used. For this bag chose mostly green color, it is spring, isn't it.


To fix pattern on the bag I use two-sided fusible web  (meaning adhesive is on the both sides). First, copy the pattern on the paper side of the fusible web and cut it off.  As I ironed it first on the fabric chosen for the pattern, had to take care how to (in what direction) draw it on the fusible web.


Finally, ironed the pattern on the skirt to fix it to be easier to sew it with the zig-zag stich.


For the filled cat head, draw a pattern on the fabric - cca 1 cm bigger  than on the main pattern and cut two pieces  off as well as the eyes.


Fot the eyes used the same process - ironed it on the two-sided fusible web and then on the fabric.


Sewed the eyes with the zig-zag stich and whiskers using regular stich.


Sewed two parts leaving a small hole at the bottom - this helped me to turn over the fabric on the right side and to fill the head with the sinthetic filling. Drew the eyeballs with the pen for the fabric. Sewed the opening at the bottom and fixed the head on the skirt. 


Made as well another head. 


Similary made a filled paw.

Used metallic pen for fabric for the additional decorations - whiskers and dots.


Now it was time to sew the bottom fo the bag and to achieve the bag width, made this triangles.


For the bag handles I cut off strip 10 cm wide, used one-sided fusible web and sew it.


Add the belt found in the market for cca 5 $ and the bag was ready.

Read more "From jeans skirt to the bag tutorial"