

Old wooden toolbox was lying in our garage for years, hubby didn't use it but also didn't want to get rid of it. But when I decided to upcycle it, he didn't have a choice but to agree. In my country elelctronic invoice is still not so popular and implemented and I am getting number of envelopes each month from utility companies, banks, telcos. Needed something usefull to sort them.
'Before'


Toolbox was rather shattered, but I liked the size and the partitions.
Tutorial how I upcycled the toolbox
Material and tools:
- acrylic paint black- acrylic magnetic board paint
- sanding paper and orbital sander
- three new hinges
- brushes
- decoupage paper and glue


First step was, as usual, to dissemble pieces - this time just the cover from the box. After that i sanded the box and the cover to clean the old paint.


Minor damages I repaired with acrylic filler and sanded again.


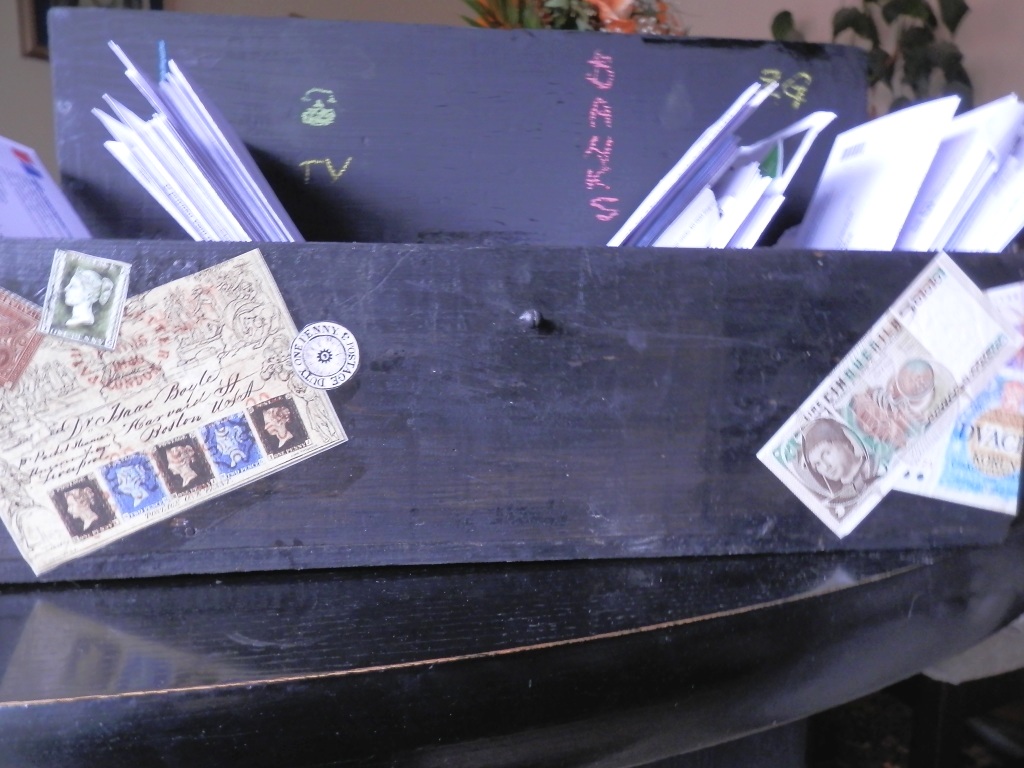
After two coats of black acrylic paint I used magnetic board paint for the inner side of the cover. Frankly, I expected a better magnetic effect after three coats of the paint. Flat magnet (used the one for fridge, in the right corner on the photo) was adhered rather well, some other didn't. Nailed new hinges to fasten cover tot the box and project was finished. Nothing difficult, but I am happy I have mail box now to sort my mail.

No comments:
Post a Comment