

Finally I found some time to finish the tutorial for this bag. I really love it, which is not always the case with my projects.

Jeans skirt I came across during wardrobe clean-up was perfect for this project. First, I made some decisions about basic bag design and size - decided to use the overall upper part of the skirt as it is - with pockets and zip, determined the lenght of the bag, taking into account the bottom width and chose not to sew the lining. This was the easy part.

Afterwards was the time to think about patches patterns and decorations. My cats helped - they are always around, together with the dog (when I am doing something) 'assisting' - steeling cloth or lying on the fabric.

Two cats - and the main theme was chosen. Found cat figure on the internet, print it, cut it and draw it on the fabric.

Fantom (vanishing) pen I found very usefull in a number of my projects - on the photo above the smaller one. I used it on this project as well. The beauty of this pen is that you can use it as any other pen, but the ink vanishes after few hours or if you apply acrylic paint or water.
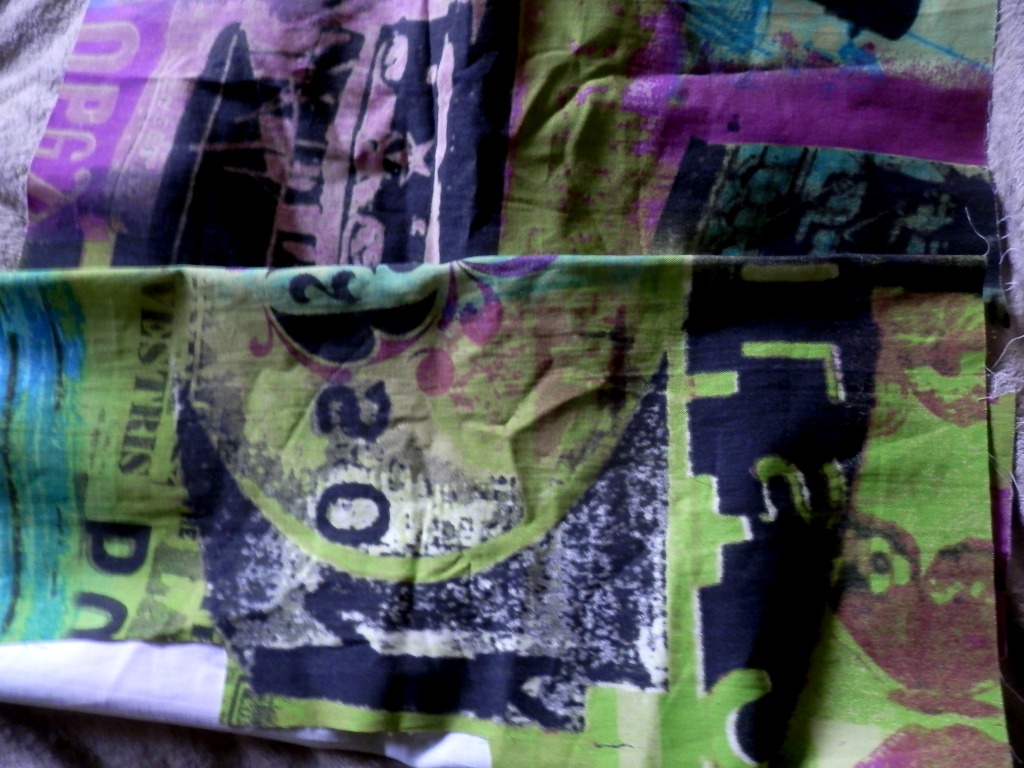
Sometime ago, spotted this colorfull fabric in the shop and bought it - it gives me various opportunities in my projects as different parts/colors could be used. For this bag chose mostly green color, it is spring, isn't it.

To fix pattern on the bag I use two-sided fusible web (meaning adhesive is on the both sides). First, copy the pattern on the paper side of the fusible web and cut it off. As I ironed it first on the fabric chosen for the pattern, had to take care how to (in what direction) draw it on the fusible web.

Finally, ironed the pattern on the skirt to fix it to be easier to sew it with the zig-zag stich.

For the filled cat head, draw a pattern on the fabric - cca 1 cm bigger than on the main pattern and cut two pieces off as well as the eyes.

Fot the eyes used the same process - ironed it on the two-sided fusible web and then on the fabric.

Sewed the eyes with the zig-zag stich and whiskers using regular stich.


Sewed two parts leaving a small hole at the bottom - this helped me to turn over the fabric on the right side and to fill the head with the sinthetic filling. Drew the eyeballs with the pen for the fabric. Sewed the opening at the bottom and fixed the head on the skirt.

Made as well another head.

Similary made a filled paw.
Used metallic pen for fabric for the additional decorations - whiskers and dots.
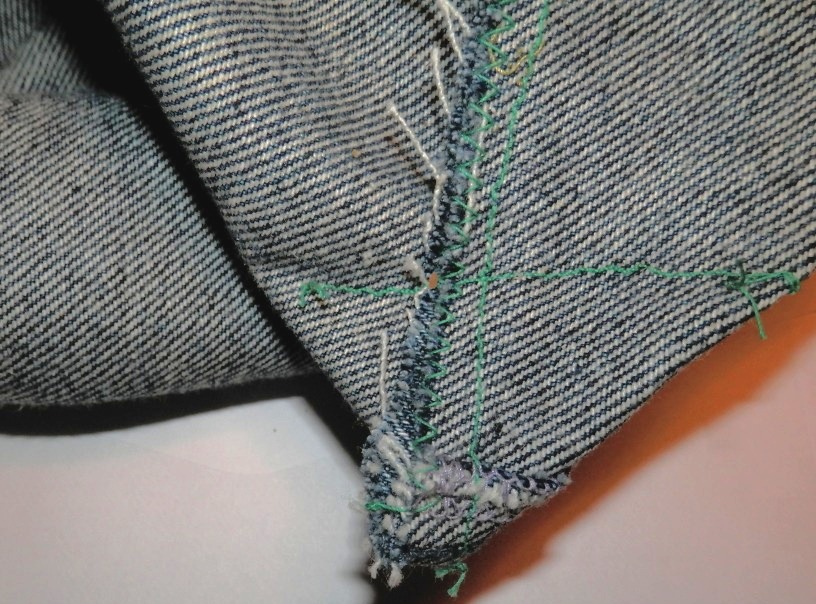
Now it was time to sew the bottom fo the bag and to achieve the bag width, made this triangles.


For the bag handles I cut off strip 10 cm wide, used one-sided fusible web and sew it.

Add the belt found in the market for cca 5 $ and the bag was ready.
No comments:
Post a Comment