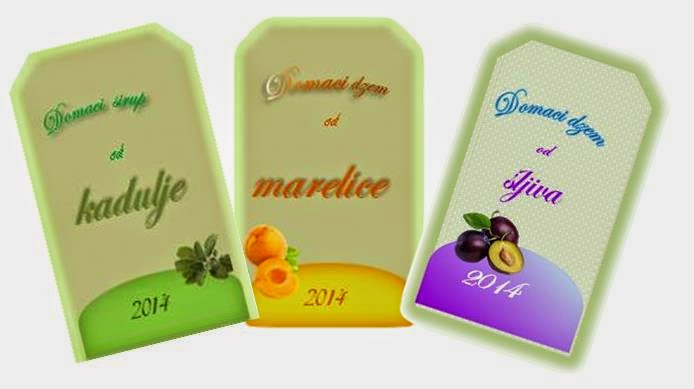
 There are thousands of label examples on the net, but i usually have my own idea, or the label I like the most can't be customized. One afternoon I tried to create label by myself, using MS Word (2010). It wasn't very easy ("&#%!@?!" for Microsoft), but neither so difficult. I prepared tutorial how to do it, just to remind you on the possibilities of the tool you probably have installed.
Tutorial how to create labels and tags using MS Word
The tutorial is related to Microsoft Word 2010 (I am mentioning that because, as usually, some features are improved, but for some of them, Microsoft made step back).
First, decide on the shape of your label.
On Insert tab use Shapes and choose the one you like - this time I added 'blue' shape (half circle).
You can change the size of the object buy dragging one of the small circles (green arrow) or you can rotate the object (red arrow) - rotate this circle (of yellow color).
You can see that the object's size changed when dragged the small circle.
Changing color and outline
To pick up the desired color of the object, mist go to the Drawing Tools (upper right on the image).
Click on Shape Fill and pick up the color. Or you can choose No Fill if you don't want any color.
For the outline, procedure is very similar as above, only click on: Shape Outline.
For my labels, I chose the 'No Outline' option.
Want more sofisticated look?
On the 'Shape Fill' pop up menu choose More Fill Colors for the color options or : Texture
è M ore Textures for the other options available.
Now you can customize gradient, patterns, shadows, ... . Try and play a little bit.
This is the example for the gradient.
And this is how to choose the pattern - I chose the dot pattern, of course.
Adding image and text
First step is to pick up image you like. I wanted to remove borders and how I did it read on my post here.
After you inserted the picture, right click on it - you'll get pop-up menu. Click on 'Wrap Text' and choose the Front of Text option. Now you can drag the picture on the created shape.
You see the plums on the the shapes (previously I dragged the smaller shape and put it on the bigger one).
To add text, repeat steps Insert -> Shapes -pick up the Text box.
Input desired text, choose the font size and type. If you want additional customization, click on letter A on the Tool bar - choose on of the offered options and, additionally, option Transform, if you like e.g. rounded text.
Label is finished.
How to copy labels
Usually, I need more than just one label. The easiest way to copy it is first to select all 'parts' (select one by one and keep the Shift button pressed).
After selecting all components, click on the Group icon and choose Group. Now, you can Copy --> Paste your label as a single shape.
Hope this is helpful. may be there are some other ways to do some steps, I am constantly discovering MS Word features or how to do something.


.jpg)


