Mar 31, 2014

How to erase or remove background from your photo


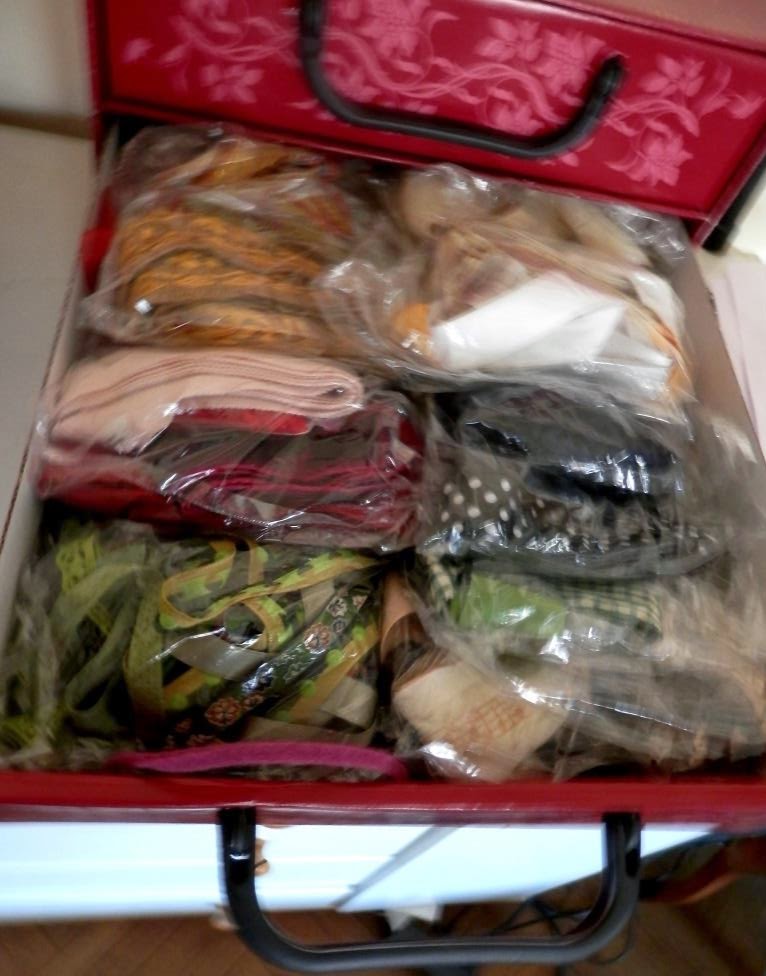
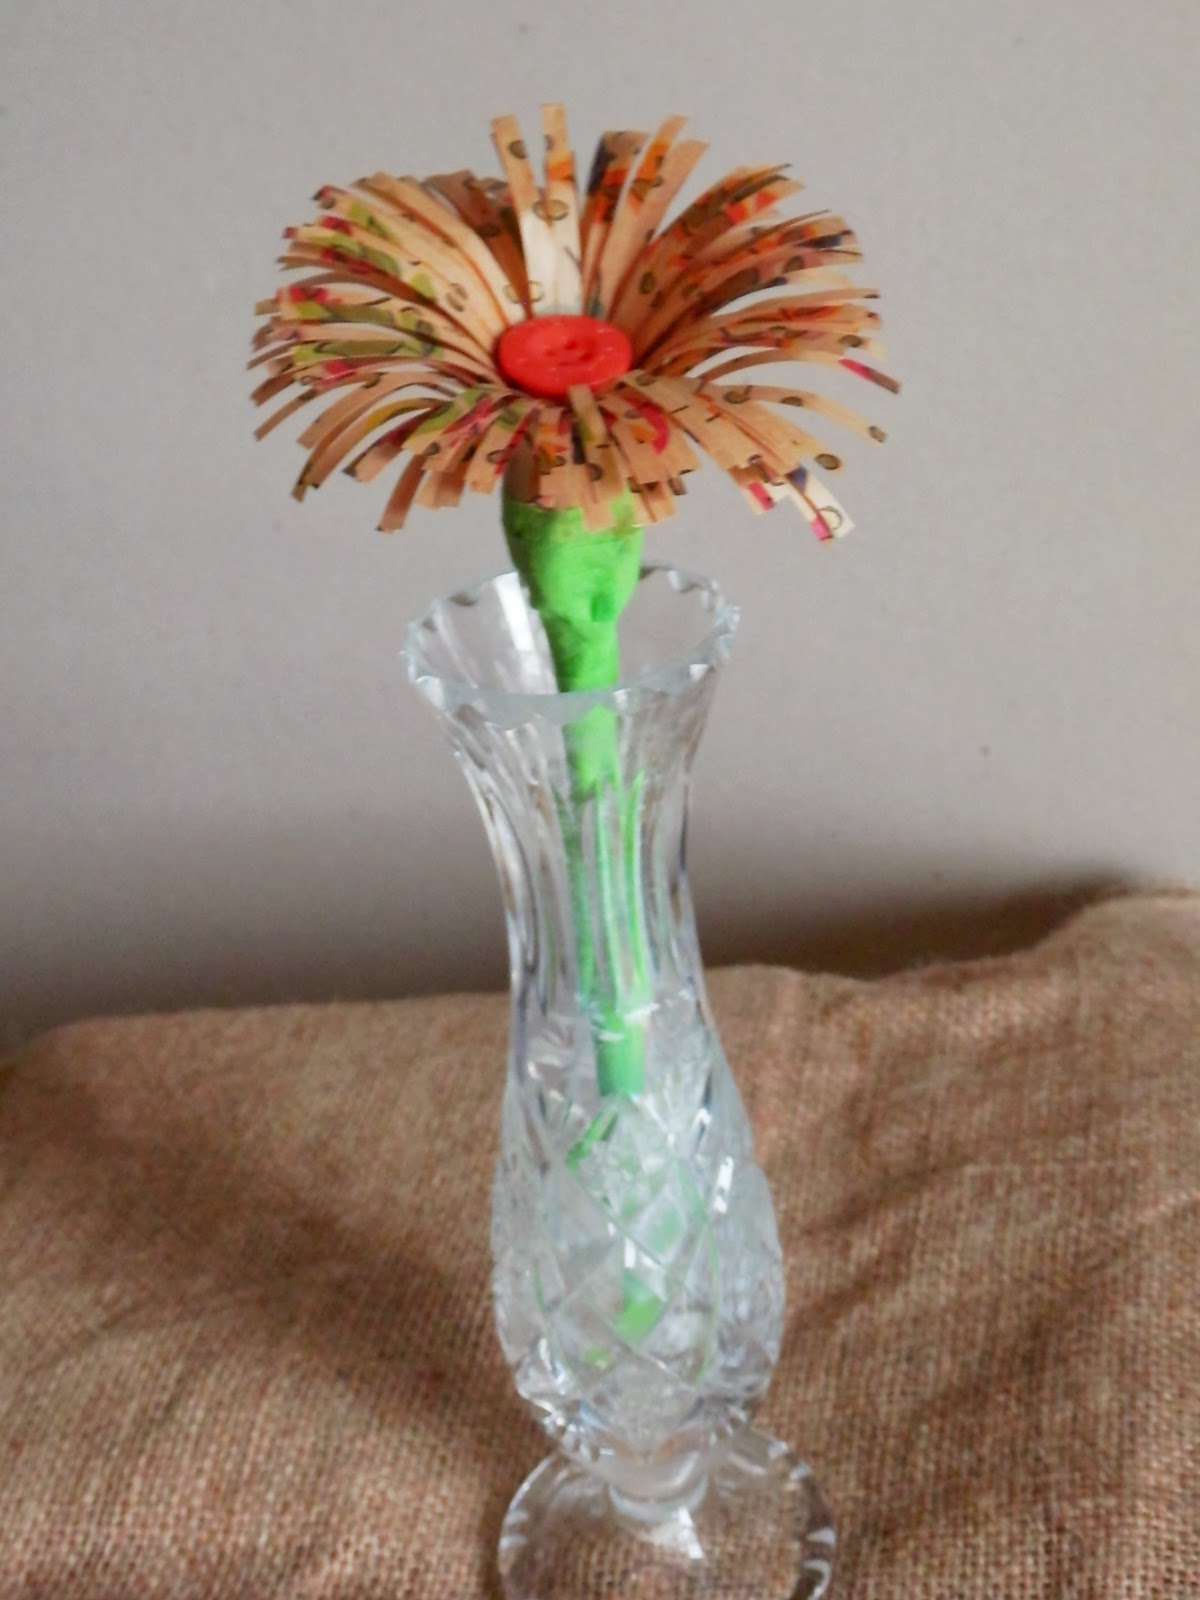
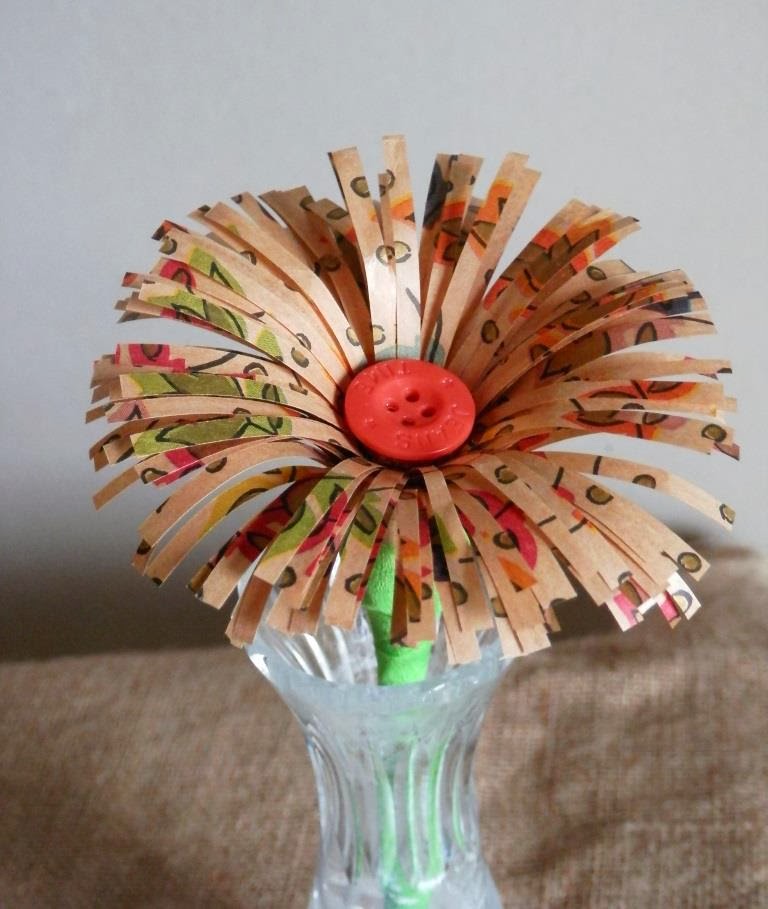
Photos play important role for (almost all) bloggers, particularly crafters. For smaller pieces I use a large white cardboard as a background but furniture is always a problem for me, no such good place in the house to take a picture and be happy with the background. Recently I found this free software - Clippingmagic. For a long time I haven't been so thrilled with some product, and it is absolutely free. You don't even need to install it on the computer - just upload the photo and follow the instructions. It is extremely easy to use it, but if you need help, there are very detailed instructions.
Of course, there are some other products, Photoshop is one of them for sure, but it is commercial. And I couldn't get the satisfactory result using some other photo editing tools (not to mention the effort needed).


Some tips:

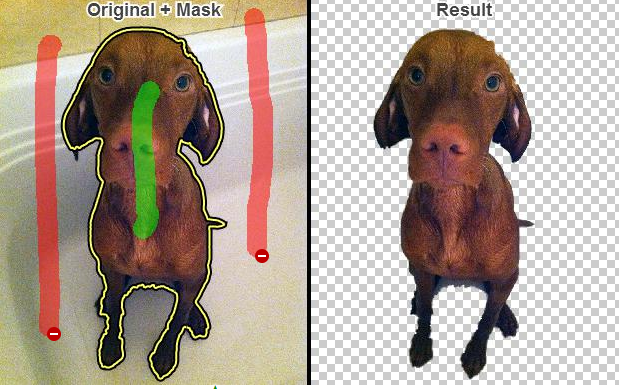
Take care to keep contrast between the main object and background you want to remove - it is much easier and faster to achieve the result (like on the photo above - dog is dark and the environment is light).

Update to this post find here.
Read more "How to erase or remove background from your photo"

Mar 27, 2014

Two chairs makeover - easy and fast


These chairs I have for a very long time. Put them on the balcony and didn't know what exactly to do with them - unlike my cat who  used them during summer to nap. I decided to finally refurbish them and it was rather easy and fast project. I really could have done it years ago.


Short tutorial how to makeover chairs


Above are chairs as they look like before makeover.


First step is, as usually, to sand the wooden parts. I  did it manually wit the sand paper grade 80 (moderately rough).  It is essential to thoroughly clean the dust using wet sponge or rag. If there are some grease stains you can use some dish washing liquid. 


As I wanted to achieve shabby look, used wood stain. Put two coats of green color low-build wood stains (acrylic, of course) and one coat of transparent varnish for protection. Allow each coat to dry before putting another one. For acrylic paint it is less then 30 minutes. And voila, chairs are ready.

Read more "Two chairs makeover - easy and fast"

Mar 19, 2014

How to organize your craft studio


Whether having large studio or just a corner in the kitchen, it is rather important to organize stuff - tools, materials, paints, on-going projects. Although I practise to use leftovers or supplies I already have for new projects, I can't resist to buy something new as well, some new strip, fabric, paint, beads ... And I am very frustrated when I can't find what I need (and know I do have it somewhere). So, it is spring, right time for the cleaning and organizing. There are a lot of beautifully  designed studios, but I didn't want to spend a lot of money or time at the moment and searched for the affordable, quick to implement, solutions.


Paper box with drawers - excellent for me, drawer lover - cheap, convenient, easy to setup.


I was using various plastic bags for leftovers and other material - and never knew what was where. So, I used ordinary transparent bags and sorted my strips and fabric - now I can spot immediately what I need. Jars could be used as well, but more place neede to hold them.


This awesome idea using cloth spines I found   here.


Actually, I have two 'studios' - corners where I am crafting - for sewing and for painting. This shelves used to organize tools for furniture makeover.


Pegboards are certianly my 'number one' choice to organize studios - so versatile and practical.
Read more "How to organize your craft studio"

Mar 4, 2014

Virtual painter software to help you pick up the best color for your room


I love to paint - furniture, walls, fabric. And I love to do it by myself. But sometimes I have not enough courage to try some wild paint or unusual color, particularly if this is costly - time or material. Sometimes I am pretty sure my hubby would complain. I tried some tools earlier, mostly for photo editing to simulate various colors, but this was too tiresome. Recently I discovered there are tools particularly developed for this purpose. Some big paint manufacturers offer their own software, and there are some more to be found on the net. Some tools are very simple - there are photos embeded and you are able just to chnage different colors. Others  allow you to upload your own photo and then play  colloring objects on the photo. Bellow are some free tools I tried. It is now much easier for me to make decisions. 


Colorjive is an on-line tool. You can upload your own photo, choose the color and (re)paint object on it. But nothing is perfect, of course, and some adjustment you need to do by hand. There is an excellent 3 minute Youtube video tutorial for this tool.


Resene EzyPaint is a free software you could download on the PC (ful version with all images takes 400 MB, but the customized one is just about 100 MB.) There is on-line version as well adn help is very easy to follow and very usefull. Y>ou can upload your owen photo as well.


Some manufacturers like Dulux and Sherwin Williams offer their own tool. Dulux offers just a basic, simple possibilities - to chane colors on their photos, but it could be usefull (and fast to try).

Read more "Virtual painter software to help you pick up the best color for your room"

Feb 13, 2014

Valentine's day last minute gifts


It is Valentine's day  tomorrow, but everyday is as good to show our love ones they are special to us. Here are some simple gifts and cards, easy to make, to give the people we love. I prefer fridge magnet above, I found it on this interesting site. Clothespins could be excellent material for crafting.


Valentines' day  cards 


Or just give a rose!


Read more "Valentine's day last minute gifts"

Jan 26, 2014

Paper daisies


Until yesterday we've had winter I've always dreamed of - average day  temperature around  12⁰ C  (not recorded in the last 150 years). Today completely different picture - snow fell white color prevails outside. But this is not the reason not to enjoy the flowers, if only paper ones, even better, as we can play with colors and forms.


This paper daisy is easy to make, find the tutorial below.


Tutorial how to make paper daisy


Material


- paper of your choice, glue, scissors, wooden stick or wire for the steam, cork


I trimmed cork to be cca 8 mm wide and cca 2,5 cm long.


Cut three pieces of paper 14 x 7 cm and cut the fringes. For the first layer fringes were 4,5 cm long, for the second one 3 mm longer, for the third layer another 3 mm loner.  


Put the glue on the part of the paper not 'fringed' and roll it around the cork. 


Repeat with the second layer - notice that fringes are 3 mm below the first layer. Repeat with the third layer.


Glue little button in the middle and green paper around the stick to get a steam and the flower is finished.


For more tutorials, look my previous posts:


Read more "Paper daisies"

Jan 19, 2014

Friendship scrolls


fabric friendship scroll


Although living in the digital era, having smart phones, tablets, notebooks - good, old paper is still very much alive. So, I made those scrolls for myself and my closest friends to keep common photos and memories.  I found the idea in the free ebook from the Cloth Paper Scissors site - it was a scroll to keep souvenirs from the journey. I used it for our friendship journey.


Tutorial how to make friendship scrolls


fabric friendship scroll


Use a piece of fabric, aproximately 33 x 11 cm. I prepainted an area for the photo as I had some isues with the transfer technique. Used photo transfer paper for the dark fabric. (Don't make the same mistake I did - read the instructions.)


fabric friendship scroll


After the photo tranfer was succesfully accomplished, I painted the fabric with the acrylic fabric paint and played a little bit with stencils.

fabric friendship scroll tutorial


This is the back side of the scroll. I also write some text - sentence about friendship.


fabric friendship scroll tutorial


For the scroll interior I printed calendar on the parchment paper and added a page of  handmade paper. On the calendar just marked our birthdays. I made four such pairs  and stiched them on the fabric 12 mm one after another.


fabric friendship scroll tutorial


fabric friendship scroll tutorial


Before stiching the paper, flipped the edge of the fabric and stitched it, put inside the wire. You can see it (left edge).


fabric friendship scroll tutorial


Finally, stitched the ribbon. The scroll is over. I printed some of  old photos and input them within the paper pairs. 


fabric friendship scroll tutorial


fabric friendship scroll tutorial


fabric friendship scroll tutorial


Read more "Friendship scrolls"

Jan 7, 2014

Origami angels for the new year


Angels again, this time simple, easy to make, but beautiful origami paper angels. It is a great fun folding them and varying the paper you can make them to fit everywhere. 


Tutorial how to make origami angel


Tutorial for this angel I found on this link as pdf file. It was designed at papirfoldning.dk - great origami side. Although it is mostly on dannish, I am sure everyone can manage to understand diagrams.


Read more "Origami angels for the new year"

Dec 24, 2013

Angels around us


I love angels and secretly hoping there is at least one taking care about me and helping me with all my issues. I don't particularly like the common image of angels, prefer some unusual ways to create them. Anyway, who can tell us for sure how the angels look like? I made these for the kitchen, with little magnets glued on the back.


Found some  interesting ones on the net.


Simple but lovely angels from this site.


For this adorable paper angel you can find tutorial.


These are my favourite, I found them (together with the tut) on the www.adventuresofadiymom.com.
Read more "Angels around us"