Jun 26, 2013

Labels and tags for jars


While the nature is flurishing around us, it is time to think on the cold part of the year. I started to make marmelade, first on my list is currant, apricot time (my favourit) is in two to three weeks. But, besides preparing jam and marmelade, I enjoy to decorate jars. I always make more than we need and  give them as a gift to my friend and family - for Christmas, birthday or just for love.

Below find some photos and links to stickers and labels you can download and customize.


This is nice site, labels are simple but beautiful.


On the Wordlabel.com you can find number of customizable labels.


For romantic souls, vintage labels.


Or, you could make your own stickers - this is example how just with text, no pictures, labels could look cool.


Tips and tricks for printing stickers


There are number of ways to print labels or stickers and put them on jars. Sometimes I just print them on usual paper and glue them on jar or tie them as tags. Recently I got plain white stickers on A4 paper. After strugling with tuning (although first on the plain A4 paper), found that Microsoft Publisher (comes with MS Office) is very usefull and has built in feature for labels (in Templates). In Microsoft Word I am using tables to adjust  labels position.


Read more "Labels and tags for jars"

Jun 19, 2013

Decorate magnets


  Few plain magnets, a little bit of paint and creativity and you have personalized jewels on your (magnetic) board or fridge.  Too many things to remember, I decided at first to make a chalk board, then improved the idea and made magnetic chalk board (applied magnetic chalk board paint). Of course, needed magnets. The ones I had were just blue and unattractive, so needed to embellish them.

 Tutorial how I decorate magnets


Hints: 

You can paint  magnets with any paint or even nail polish, but if you would like to use napkins for decoration, it should be bright color.

I used two components resin to get depth and brilliance. Read product instructions carefully.


My  magnets photos


Board and my 'office' corner


Read more "Decorate magnets"

Jun 8, 2013

Preserve the beauty, press flowers


While the nature flourish it is good to recall the winter and preserve its beauty, especially when it doesn't take much time and effort. It is very  easy to press flowers or leaves.


Today I cut some flowers in my garden and few ginkgo leaves, I planted small tree few years ago.


Thin, flat flowers are the best for pressing. Place absorbent paper ( paper towel or tissue paper) in the middle of some heavy book and arrange the flowers blossoms. Cover with another piece of paper, close the book, put another one on the top of it for weight and forget for a few weeks (or few month in my case).


I also have some roses and pressed their petals.


That's it, now I'll have memories and variety of pressed flowers for my projects. 
Read more "Preserve the beauty, press flowers"

Jun 5, 2013

Vertical garden project journey - phase 1


Finally,  stars have set up properly for my vertical garden project. I found in the garage wooden box that  seems to be perfect. This is project that takes at least a month or two to be quite ready for the wall and I will regularly update photos. I am so eager to see how it will turn out. But, prior to planting, some preparations need to be done to protect wood and avoid wood decay.


Tutorial (and journey) to set up vertical garden


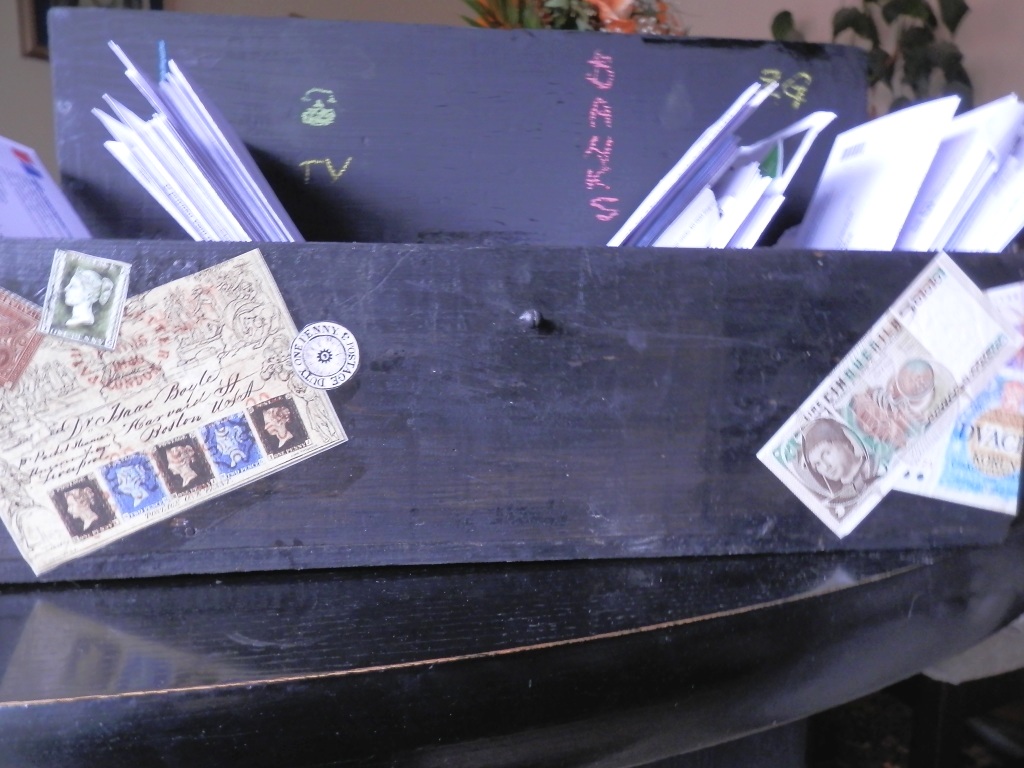
This is box 'before'. It looks pretty good and the  baffles could be removed. It might sound silly, but I discovered in the  last moment that this could be done (and was delighted, as this made my job much easier).


I cleaned it, sanded a little bit and then 'wax' with an old candle.


Applied one coat of white acrylic paint, left 20 minutes to dry and sanded again to distress it.


I also painted back of the box, I always take care about the sides that are not visible, as well.


To protect the wood from water and moisture, applied coat of transparent satin varnish for boats (I already had it on hand). Applied it inside and outside the box and left to dry - this is oil paint and it took almost  24 hours to dry.


And the protection efforts were not finished. I decided to use transparent adhesive foil for additional protection and incase the whole box. The foil I also already had, originaly it was bough for school books protection. I love the grid on the paper side, it is so much easier to measure and cut the foil.


So, I measured to foil and cut the corners (to 'create' the box  an put it inside the box.
Protected the buffles as well.


Box is now prepared and protected. More exciting part to follow.


Although this is going to be a vertical garden, I put some grit on the bottom for a drainage. First  couple of month (or until the plants spread around) the box will stay in horizontal position.


As planned to plant succulents, prepared a mix of 1/3 sand and 2/3 usual soil for flowers.


The box is now filled with soil. 


To avoid the soil to drift away, I fasten the metallic net onto the box.


Now, the best part - planting. I already have a lot of succulents - chose the smaller ones and planted them. I think I'll buy some additional on the green market, may be reddish or variegated.

What I learned? The meshes of the net were rather small, I had to use wooden stick for planting. It is better to use net with the bigger meshes. Some people used moss, may be this is even better, don't know.


At end, added soil and water sprayed my garden.
Read more "Vertical garden project journey - phase 1"

May 29, 2013

Vertical gardens


If you think you don't have enough place for gardening, you are wrong. There are very creative ideas how to make your own vertical gardens. There are, of course, industrial products and design, but I prefer home made projects.

Tutorial for this  project I found on DesingSponge – it looks very easy to try. I planned to do it couple of month ago but didn’t have time and haven’t found the pallet or something similar until recently. I will post steps and updates of growing plants soon.


Another great tutorial for similar project, using picture frame.


This project I found on Community gardening. Although Lenny Librizzi who run project, declared this experiment unsuccessfull, I found it very interesting.  At least, it seems to me as a very good idea, may be some improvement needed. But it is good to learn something new even if it didn’t turned out as we expected.


This is example and a great tut how to make something completely different if you are creative - this garden was made using shoe store and some hangers.


That is my favourite one - ugly wall turned into picture. This project is made by  the crew behind Calanthe Artisian Loft, a homestay in Melaka, Malaysia… 


Recycle plastic bottles and make a garden.


Read more "Vertical gardens"

May 27, 2013

From toolbox to mail box


Old wooden toolbox was lying in our garage for years, hubby didn't use it but also didn't want to get rid of it. But when I decided to upcycle it, he didn't have a choice but to agree. In my country elelctronic invoice is still not so popular and implemented and I am getting number of envelopes each month from utility companies, banks, telcos. Needed something usefull to sort them.


'Before'


Toolbox was rather shattered, but I liked the size and the partitions. 


Tutorial how I upcycled the toolbox


Material and tools:

- acrylic paint black
- acrylic magnetic board paint
- sanding paper and orbital sander
- three new hinges
- brushes
- decoupage paper and glue


First step was, as usual, to dissemble pieces - this time just the cover from the box. After that i sanded the box and the cover to clean the old paint.


Minor damages I repaired with acrylic filler and sanded again.


After two coats of black acrylic paint I used magnetic board paint for the inner side of the cover. Frankly, I expected a better magnetic effect after three coats of the paint. Flat magnet (used the one for fridge, in the right corner on the photo) was adhered rather well, some other didn't. Nailed new hinges to fasten cover tot the box and project was finished. Nothing difficult, but I am happy I have mail box now to sort my mail.


Read more "From toolbox to mail box"